

































Set up a kiosk
Turn a shared tablet or computer at the entrance into a time clock where employees clock in with a PIN.
A kiosk is a shared device, usually a tablet at the entrance, where employees tap their name, enter their PIN and clock in. They don’t need a phone or the app. Owners and admins set kiosks up on the web.
1. Create the kiosk
- Open Kiosks in the menu.
- Click Create kiosk.
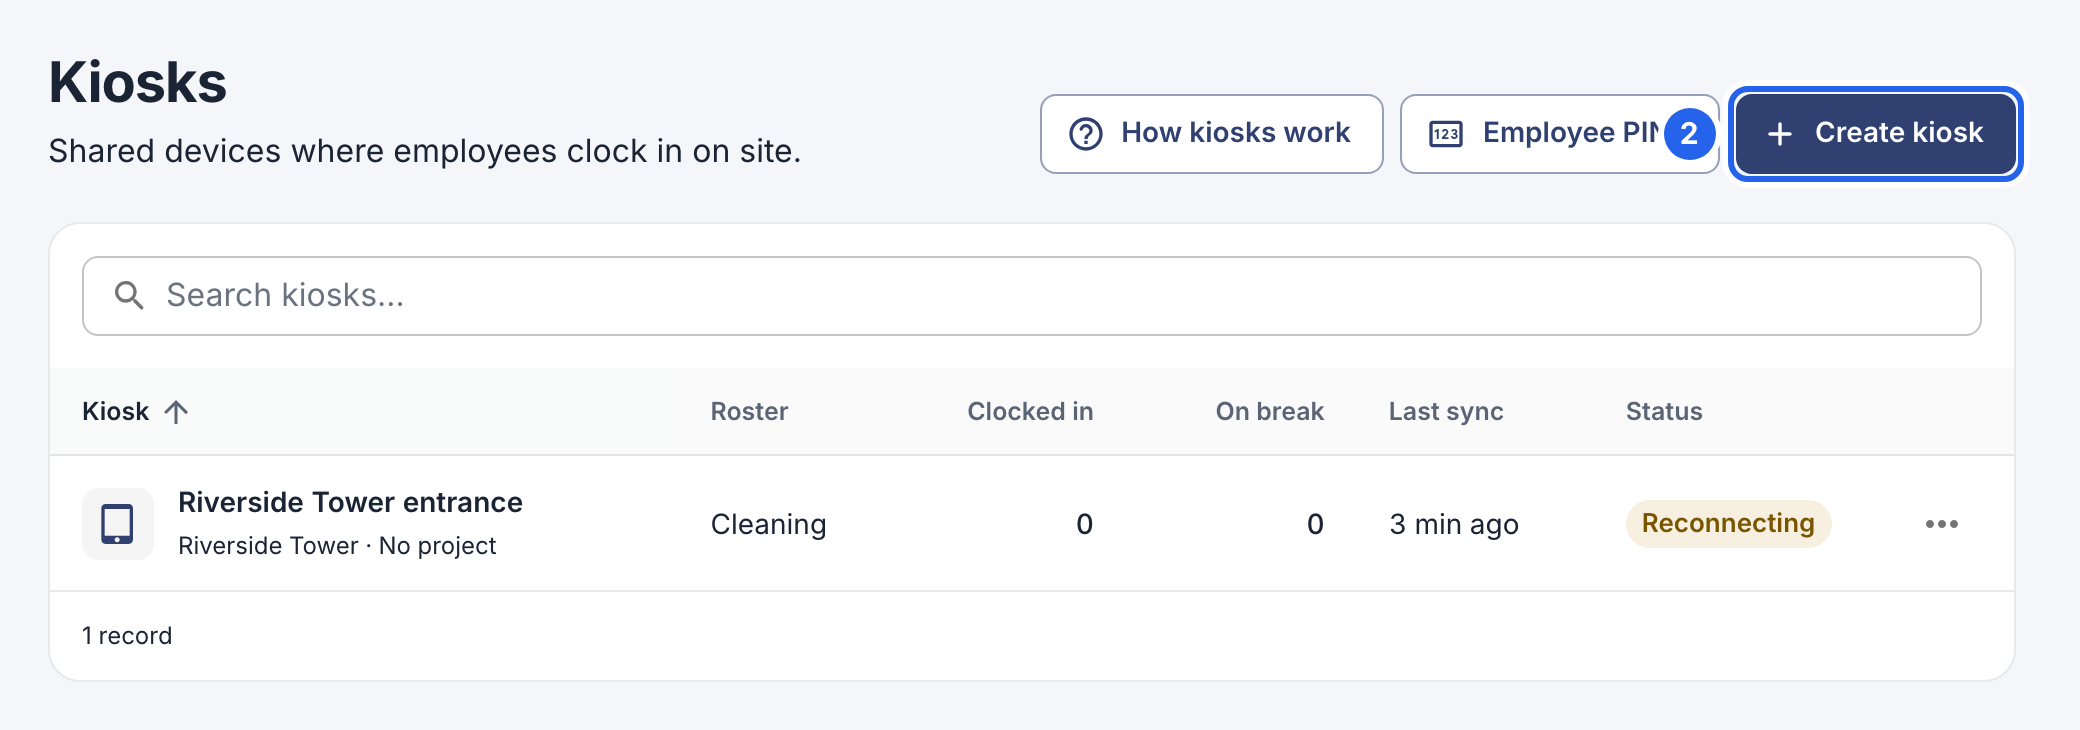
2 Create kiosk.
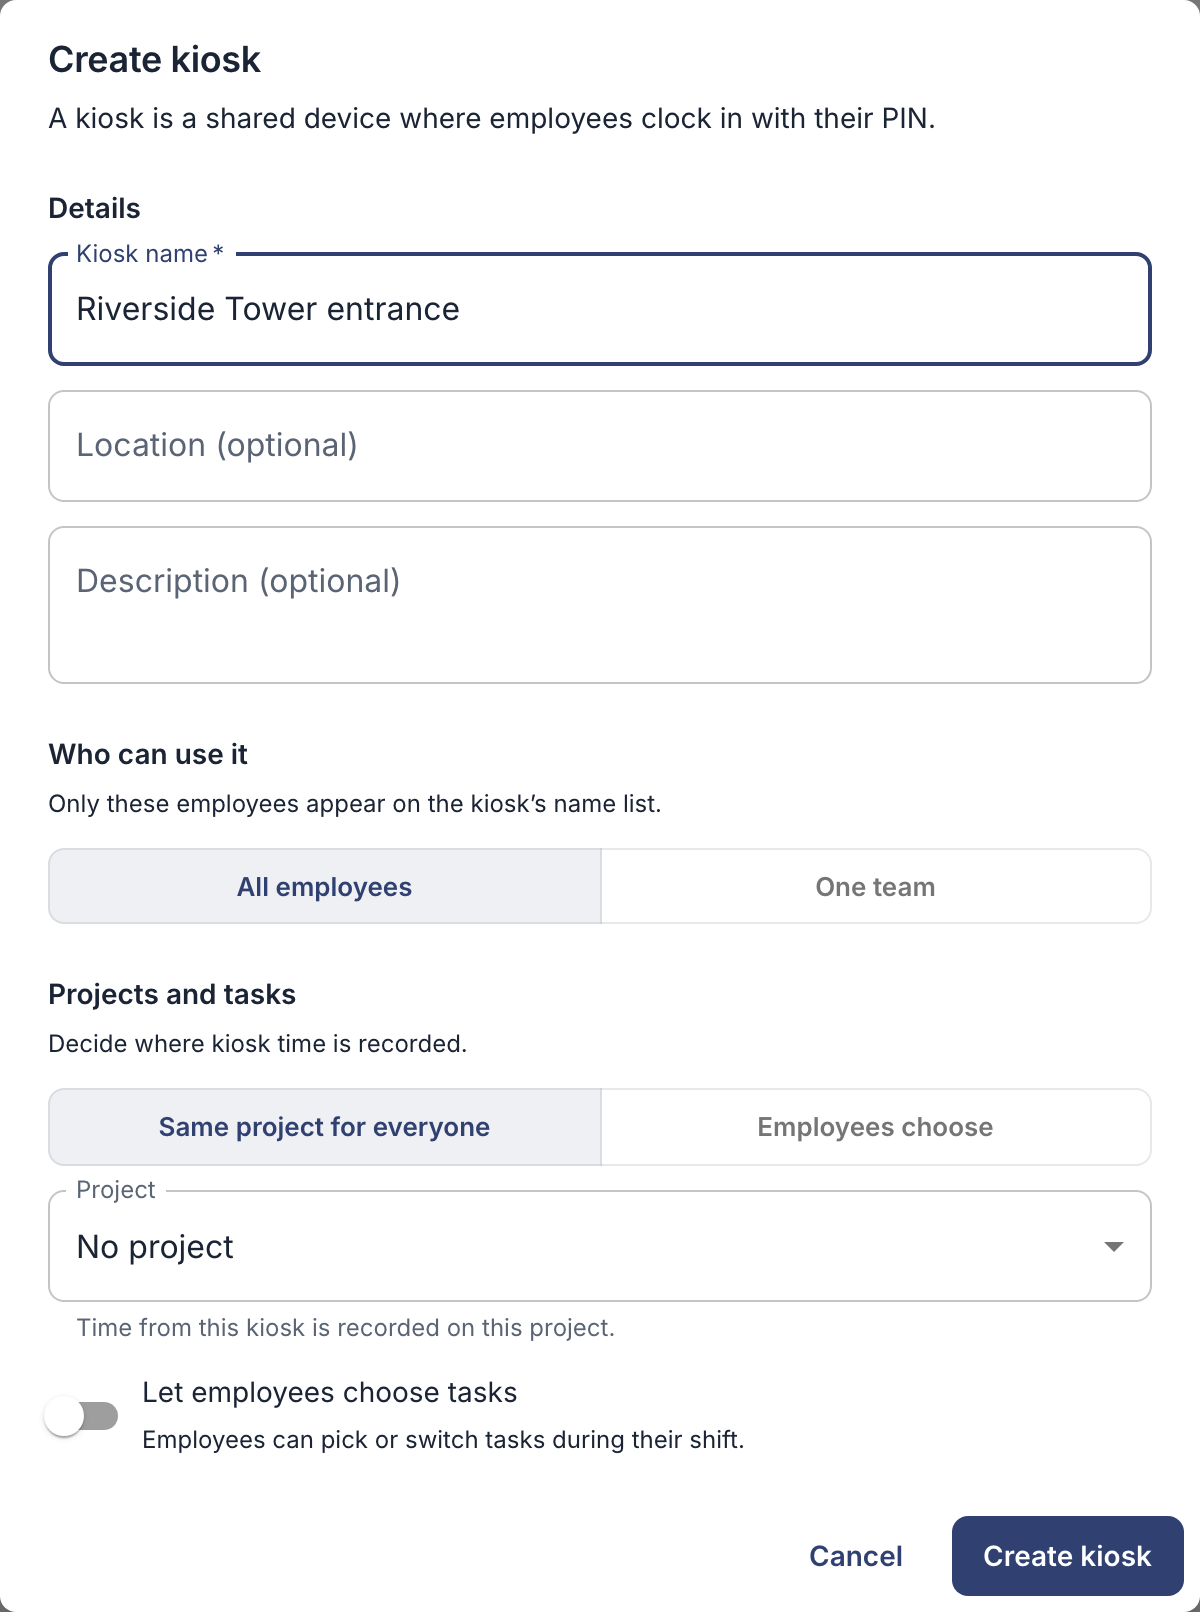
- Give it a name, such as the place where it stands.
- Choose who can use it: All employees, or One team and select the team.
- Choose Same project for everyone and select a project (or No project), or Employees choose.
- Click Create kiosk. The kiosk link opens straight away.
2. Connect the device
The kiosk link opens after you create the kiosk. To find it again later, click ⋯ next to the kiosk in Kiosks and choose Kiosk link and QR code. Then connect the device you’ll use:
- iPad: install the EasyHours Kiosk app and scan the code. See Set up your iPad kiosk.
- Android tablet: install the EasyHours Kiosk app and scan the code. See Set up your Android kiosk.
- Any computer or tablet with a browser: click Copy link and open the link in that device’s browser. Then switch the browser to full screen.
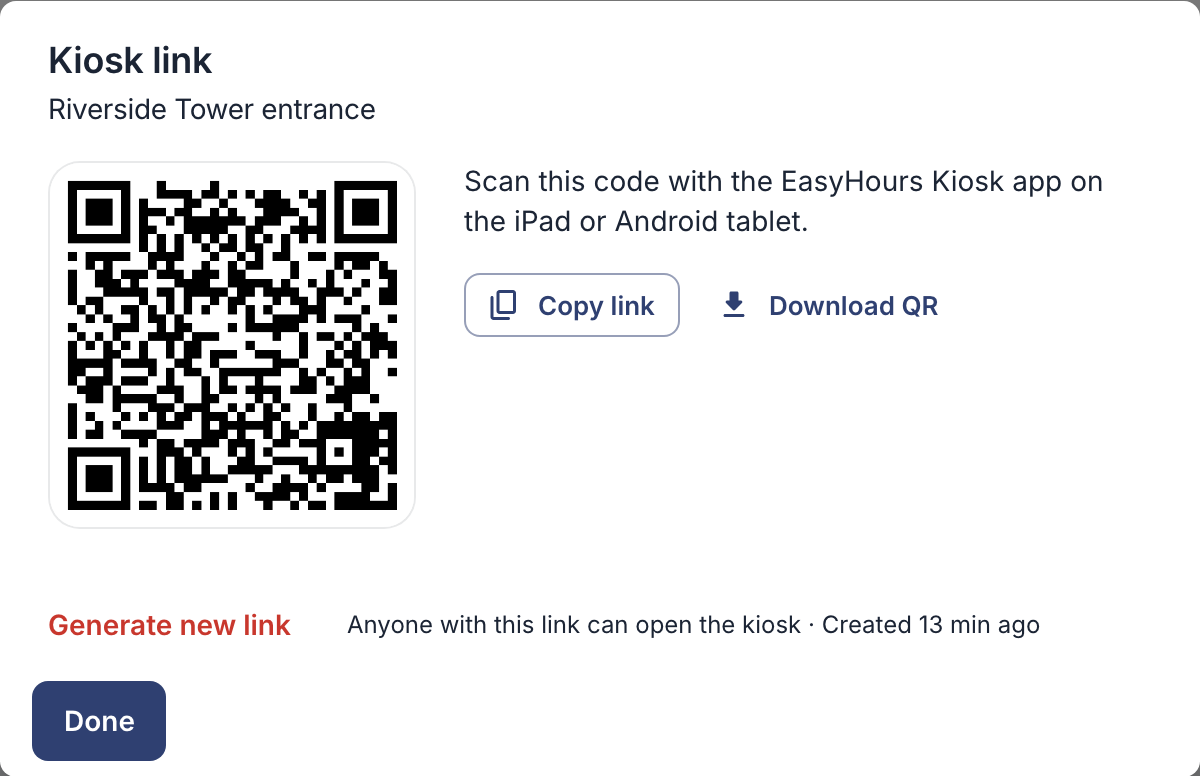
Scan the code with the kiosk app, or open the link in a browser.
Use one kiosk per device. Opening the same kiosk’s link on another device disconnects the first one.
3. Give everyone a PIN
Each employee needs a 4-digit kiosk PIN: see Set employee kiosk PINs. People who only use the kiosk can be added without an email address: see Add employees.
How employees use it: see Clock in on a kiosk.